Other Four Ways to Transfer Photos from iPhone to Mac without iPhoto
1 Transfer Photos from iPhone to Mac without iPhoto via Preview
Preview enables users to transfer photos from iPhone to Mac. Here are the steps to transfer pictures from iPhone to Mac Preview.
Step 1: Use a USB cable to connect your iPhone to Mac.
Step 2: Launch the Preview.
Step 3: Click import from your iPhone.
Step 4: Click import to transfer the photos.
Step 5: Select the destination for your iPhone photos.

2 Transfer Photos from iPhone to Mac without iPhoto via Image Capture
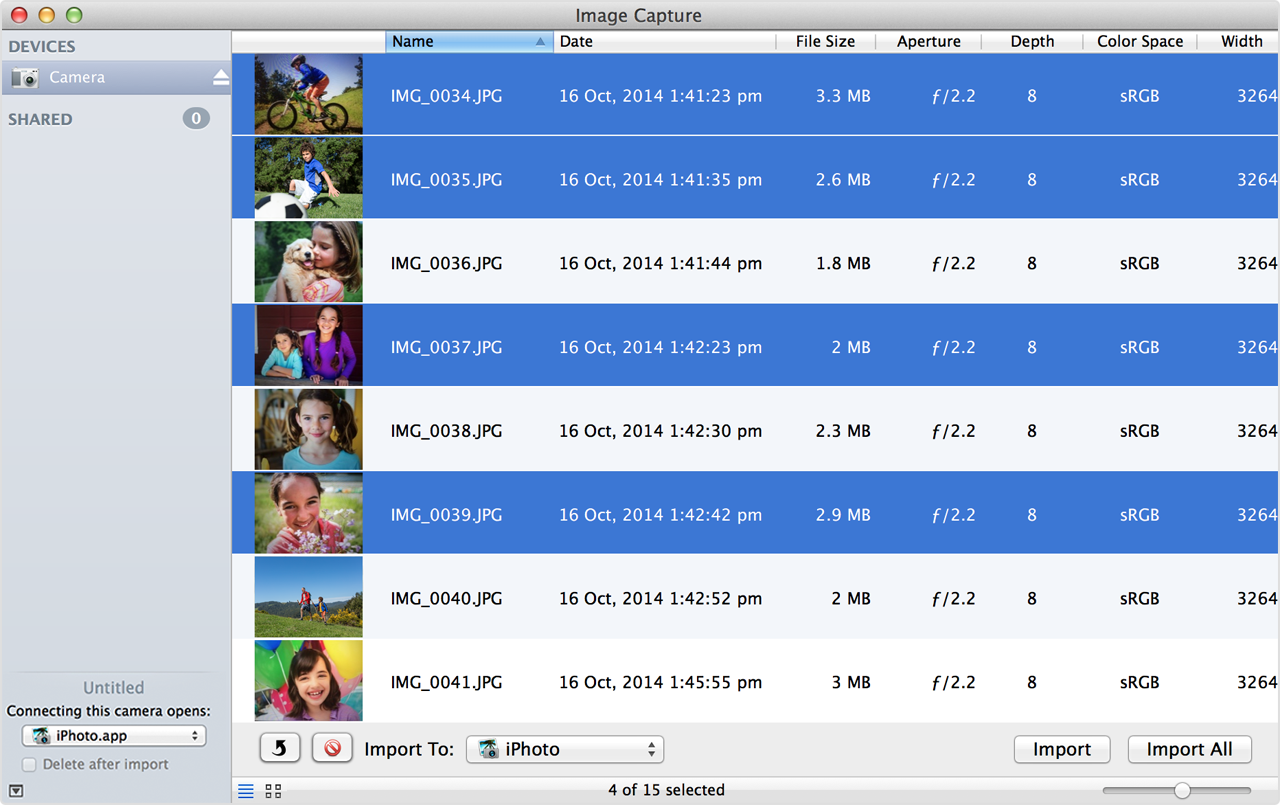
Image capture supports transferring photos from iPhone to Mac. Here are the steps to transfer pictures from iPhone to Mac with Image Capture.
Step 1: Connect your iPhone to Mac using USB cable.
Step 2: Launch the Image capture on your Mac.
Step 3: Select your iPhone from the device list.
Step 4: Open the output folder for your iPhoto photos.
Step 5: Click on import to transfer pictures from iPhone to Mac.
3 Transfer Photos from iPhone to Mac without iPhoto via Email
Avoid sending many photos at once; it is advisable to send two or three full-size photos in each email. Follow this guide to transfer pictures from iPhone to Mac with Email.
Step 1: Launch the Photos app on your iPhone, open the albums page and select the specific album.
Step 2: Click on the edit button and pick the photos you want to transfer.
Step 3: Click on the share button and select email.
Step 4: Enter your email address to complete the process.
Step 5: Login your Email to Mac and download the photos.

4 Transfer Photos from iPhone to Mac without iPhoto via Photos App
You can transfer photos from iPhone to Mac using Photos app. Here are the steps to follow:
Step 1: Open Photos App on your Mac.
Step 2: Use the USB cable to connect your iPhone to Mac.
Step 3: Tap on import.
Step 4: Click the photos you want to transfer to Mac.
Step 5: Select import to transfer photos to Mac.

Bonus Tip: How to Transfer Photos from iPhone to Mac with iPhoto
Step 1: Use your USB cable to connect your Mac. The iPhoto will open the import interface; this will allow you to see all the photos on the camera roll.
Step 2: To transfer all the images, click on “import” and pick the pictures on your camera roll.
Step 3: When you are done, move imported photos to the selected folder on your Mac.Sponsor ads:Create a Second Instagram and Manage Multiple Accounts

You may also like:
It's helpful. And I'm willing to share more easy to transfer photos from iPhone to Mac. Check: How to Transfer Photos from iPhone to Mac
ReplyDelete